Our Process
SCD are experienced in 3D design & product animation from start to finish, from initial sketches to on-the-shelf products. We can offer a step by step or full project process. Please see below range of services we can provide.
Additionally, We have outlined our full CGI animation process below to give our customers the piece of mind and understand the our workflow from start to finish.
How we animate…
To help you better visualise and understand how we work, we've outlined our step-by-step process and customer approval stages for our product animation services.
This ensures our clients have complete peace of mind, knowing they’re working with the right team and remain fully in control at every stage of the project.
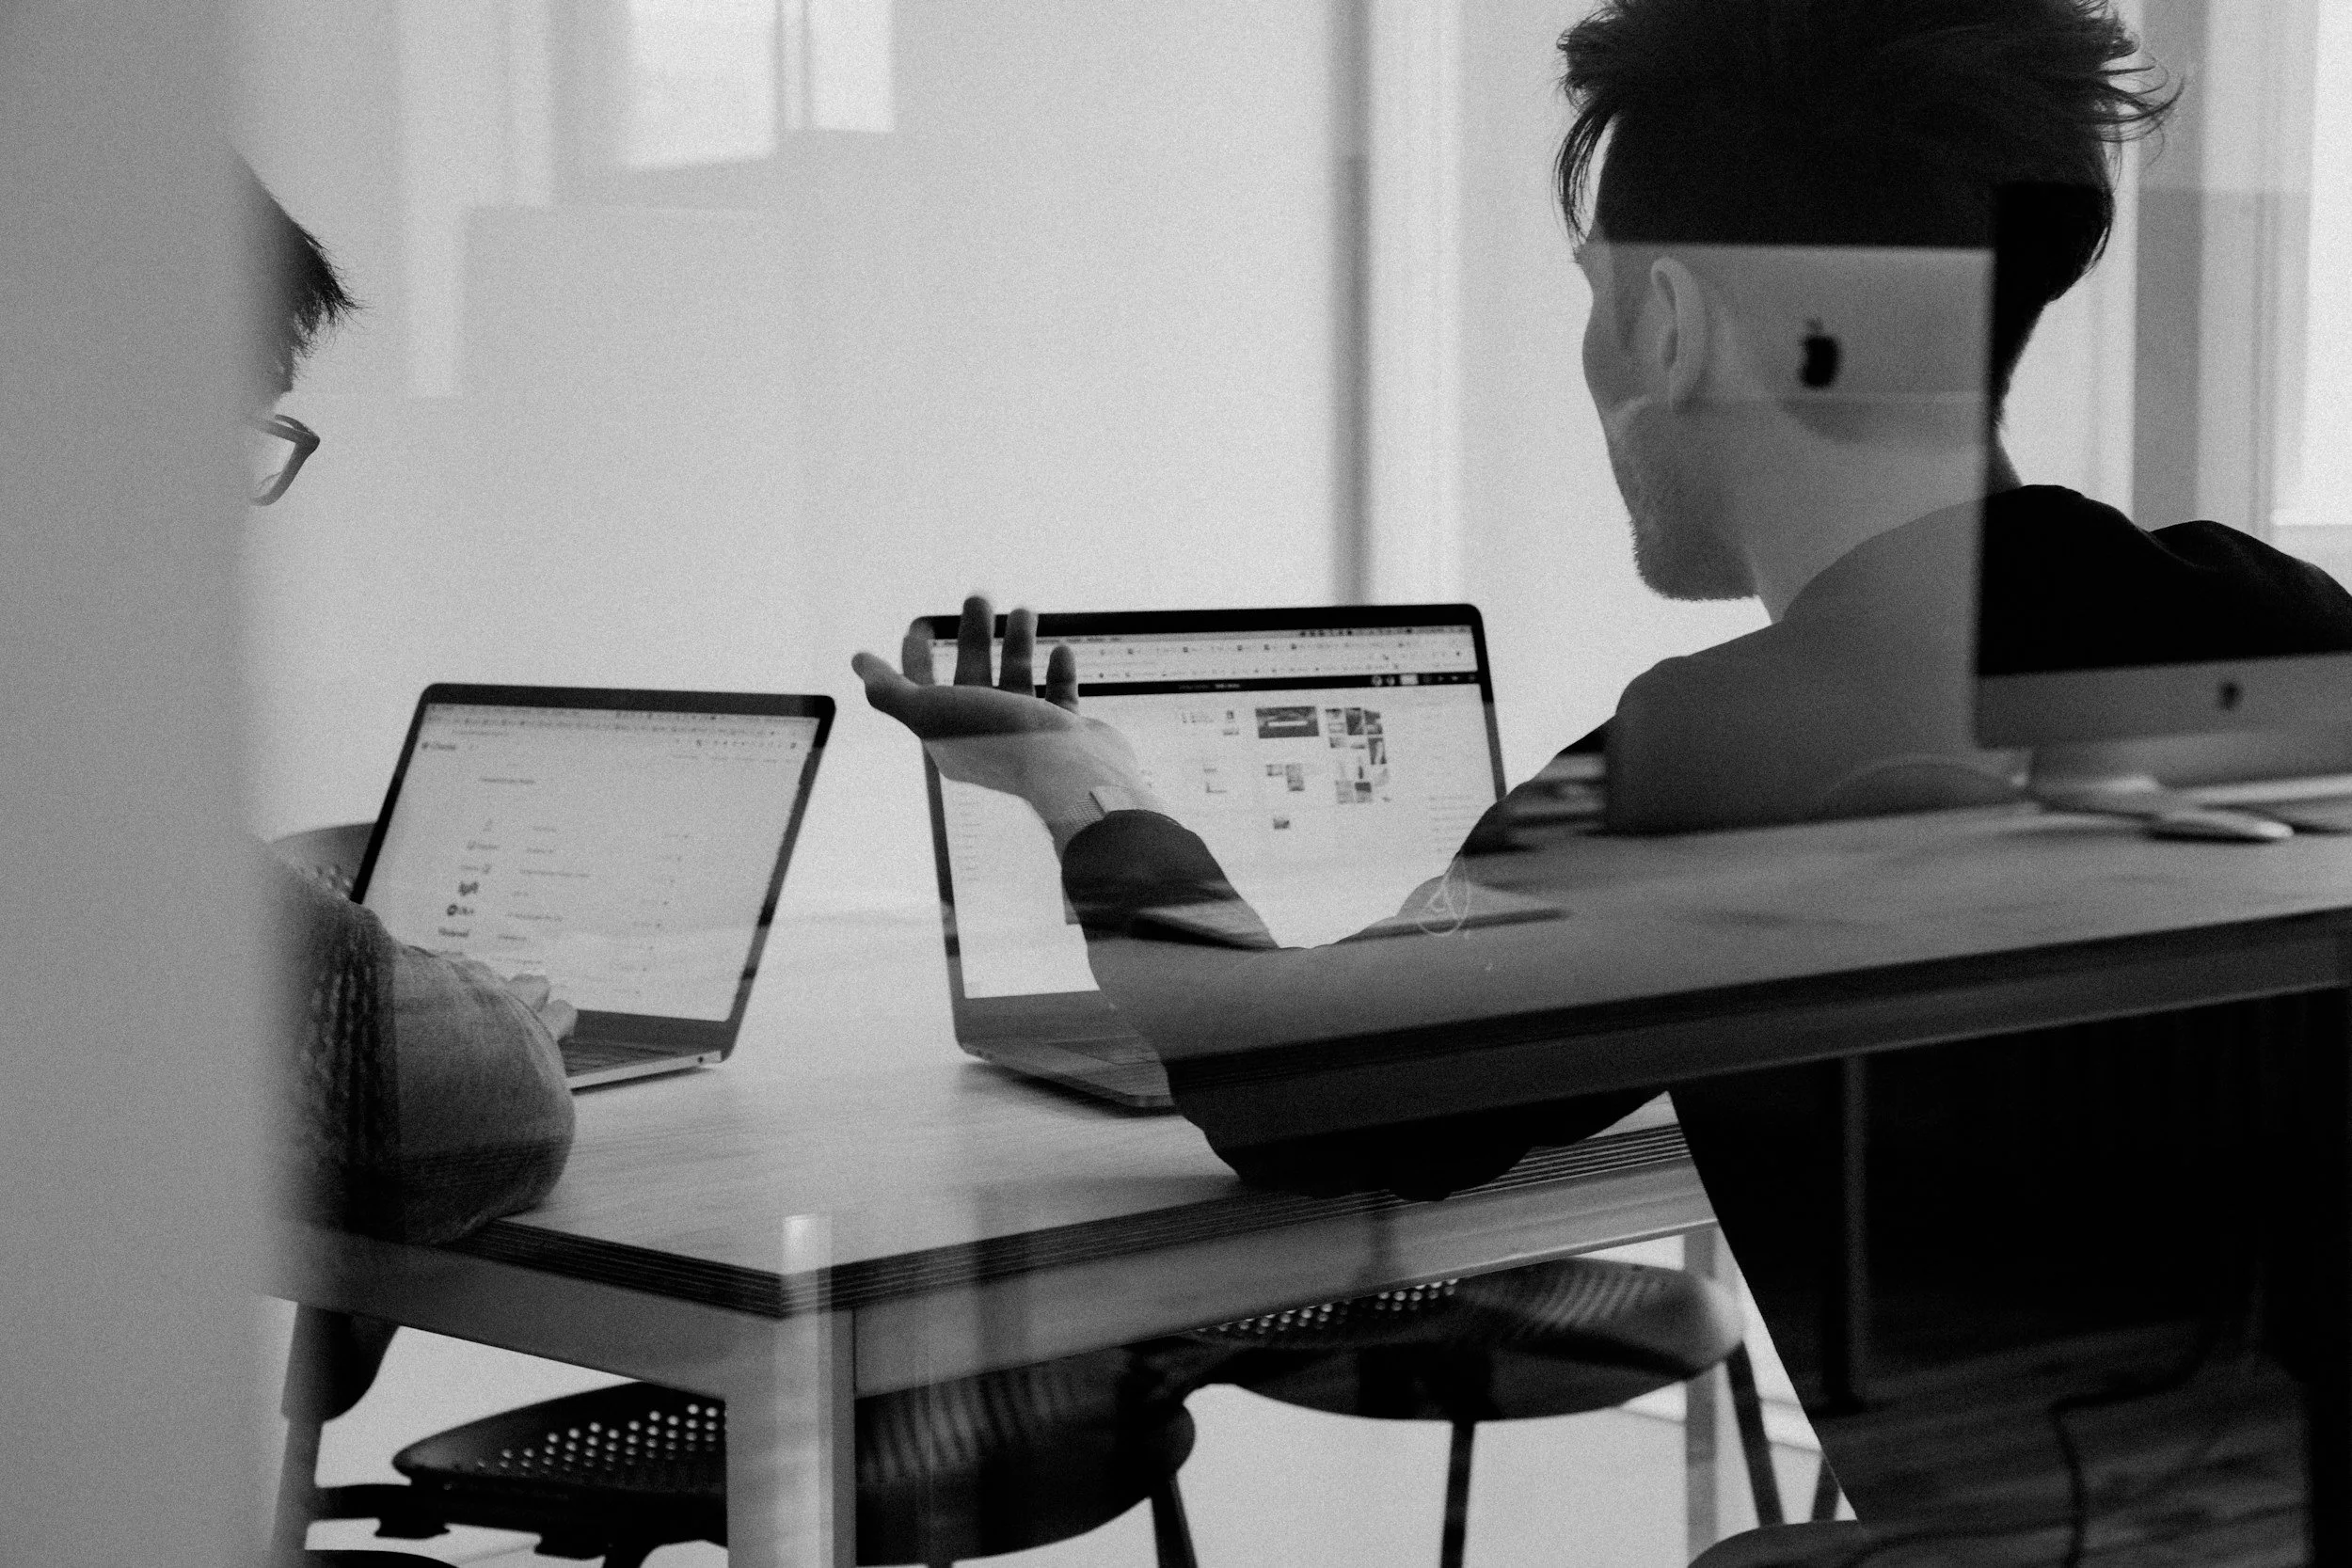
STEP 1. Brief Building
Project Scope, objectives, requirements, video style and target audiences.
A collaborative session with your team to develop a brief that aligns with your project requirements and clearly defines the scope of work.
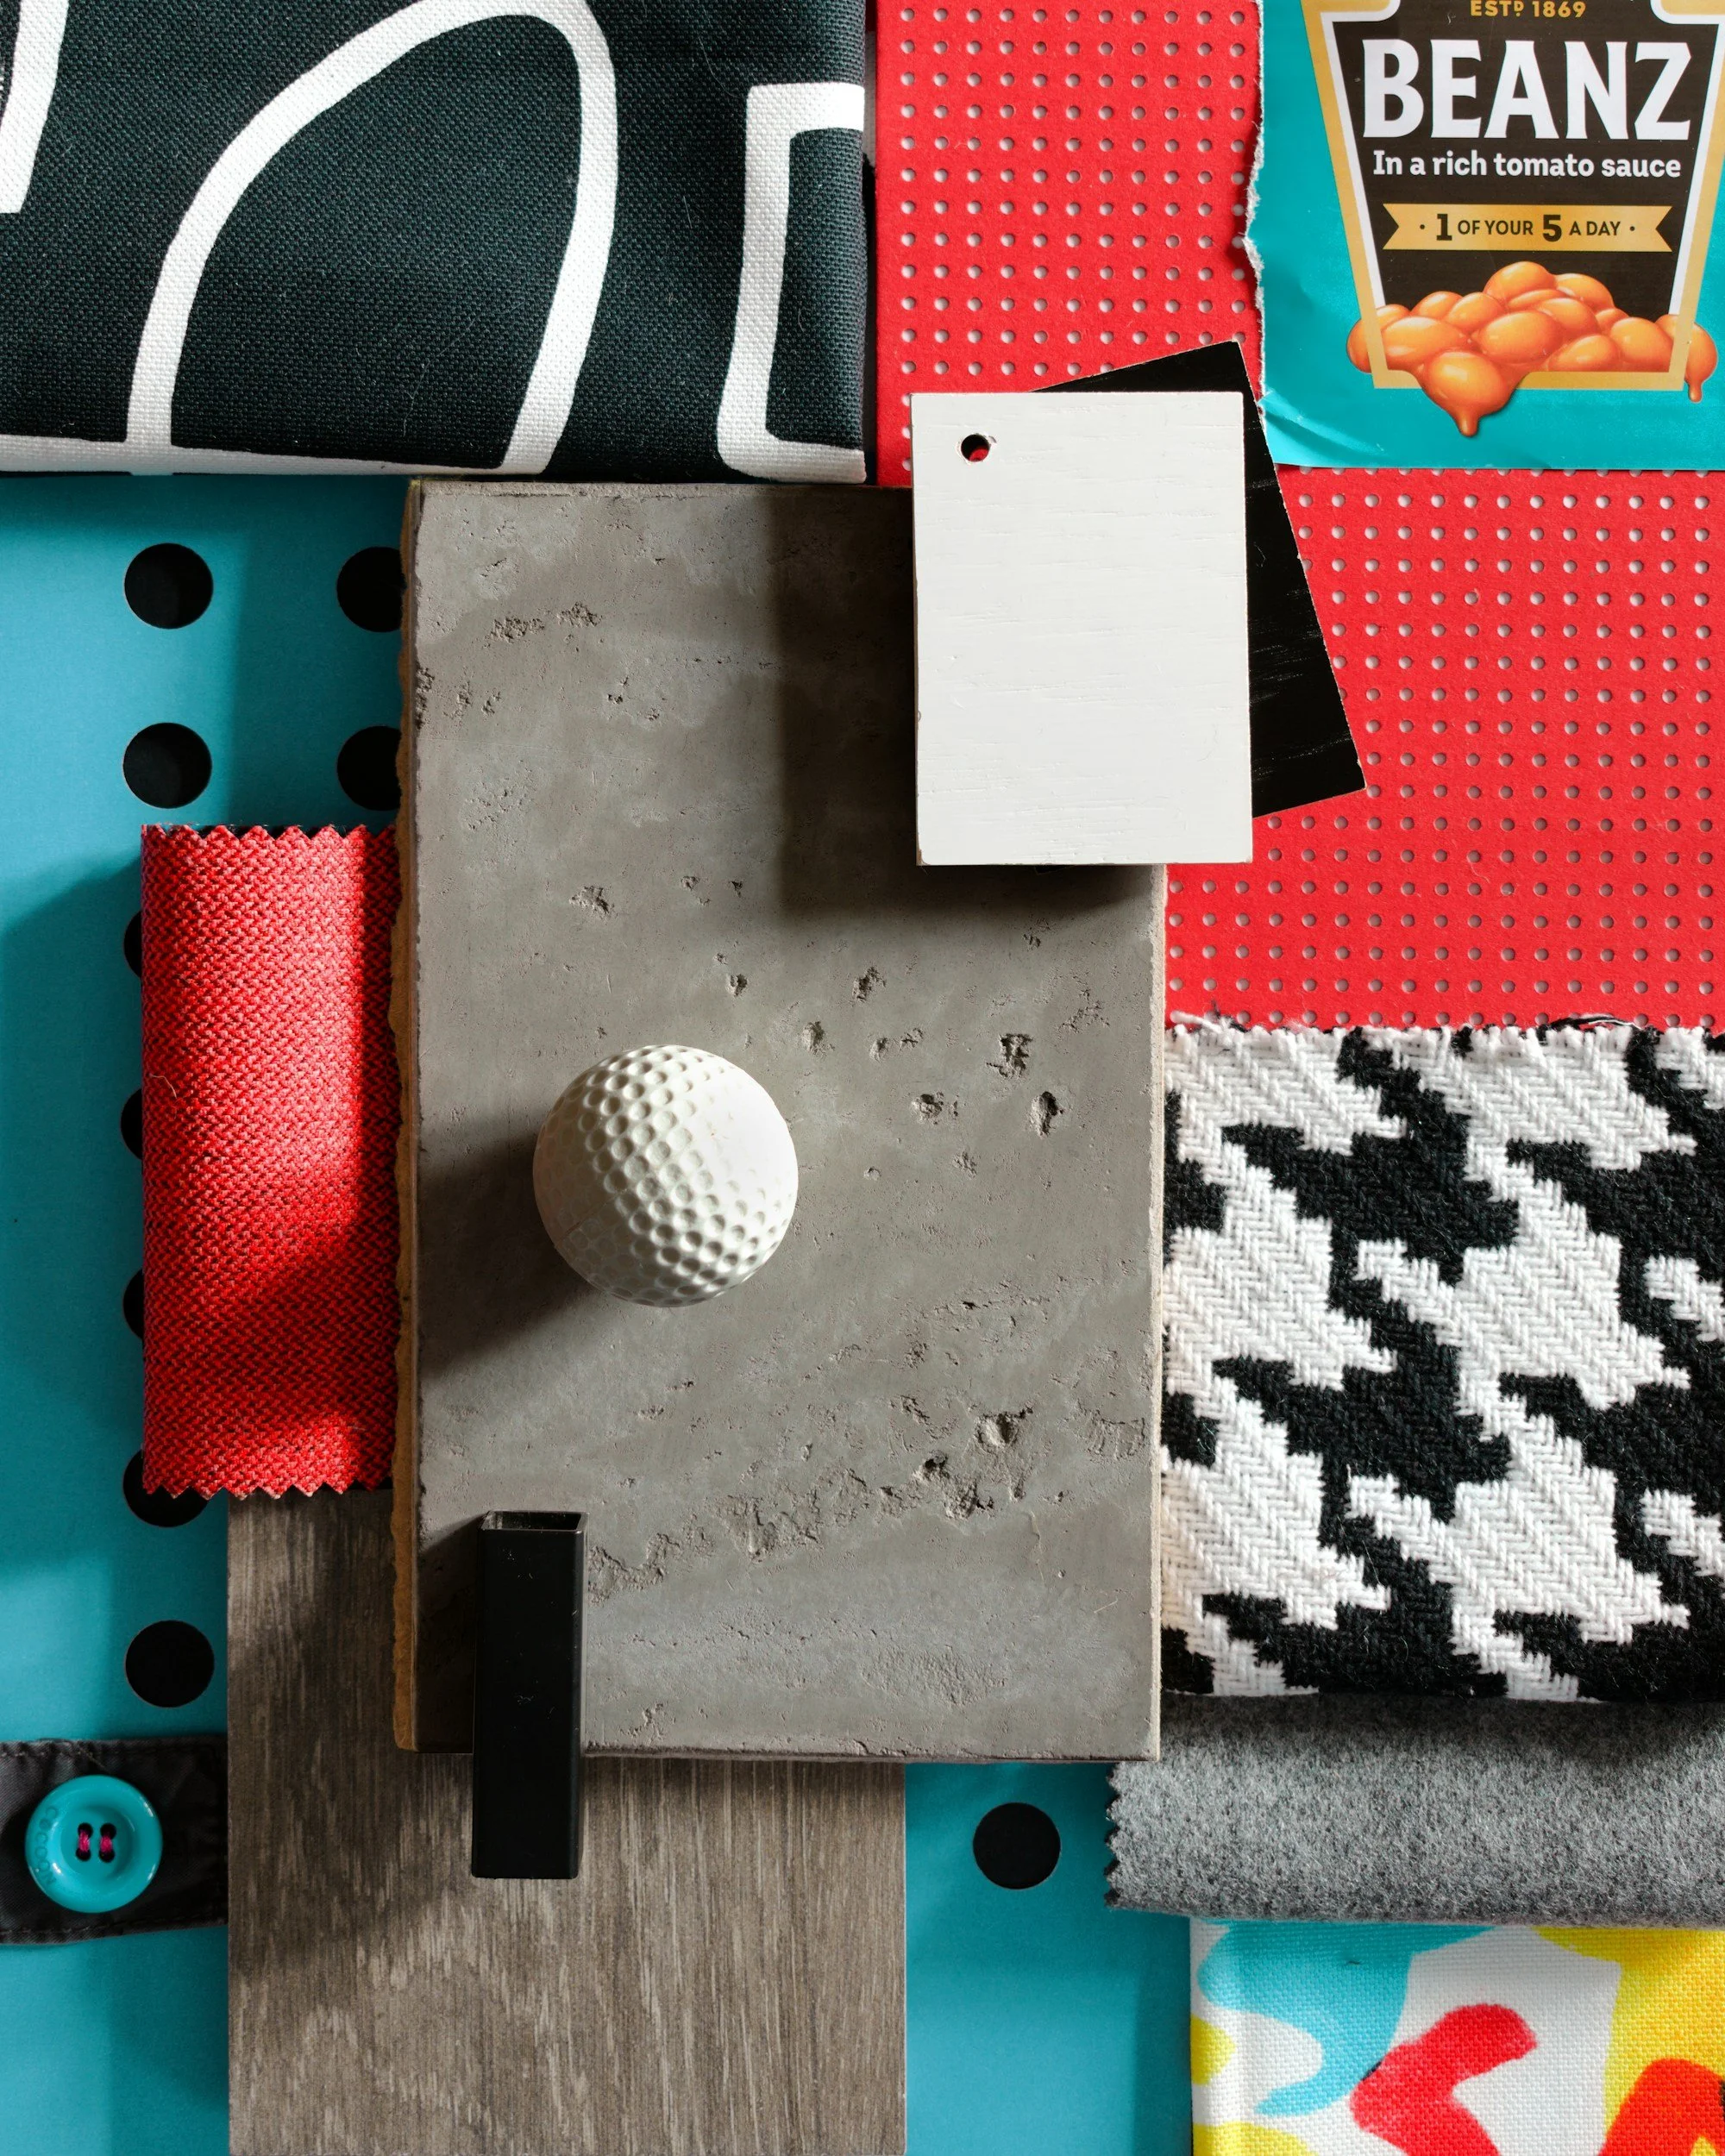
STEP 2. Research & Moodboarding
Researching styles, colours & inspirations.
Producing research materials and mood boards that provide insight into past, present, and upcoming trends and styles to guide the creative direction.
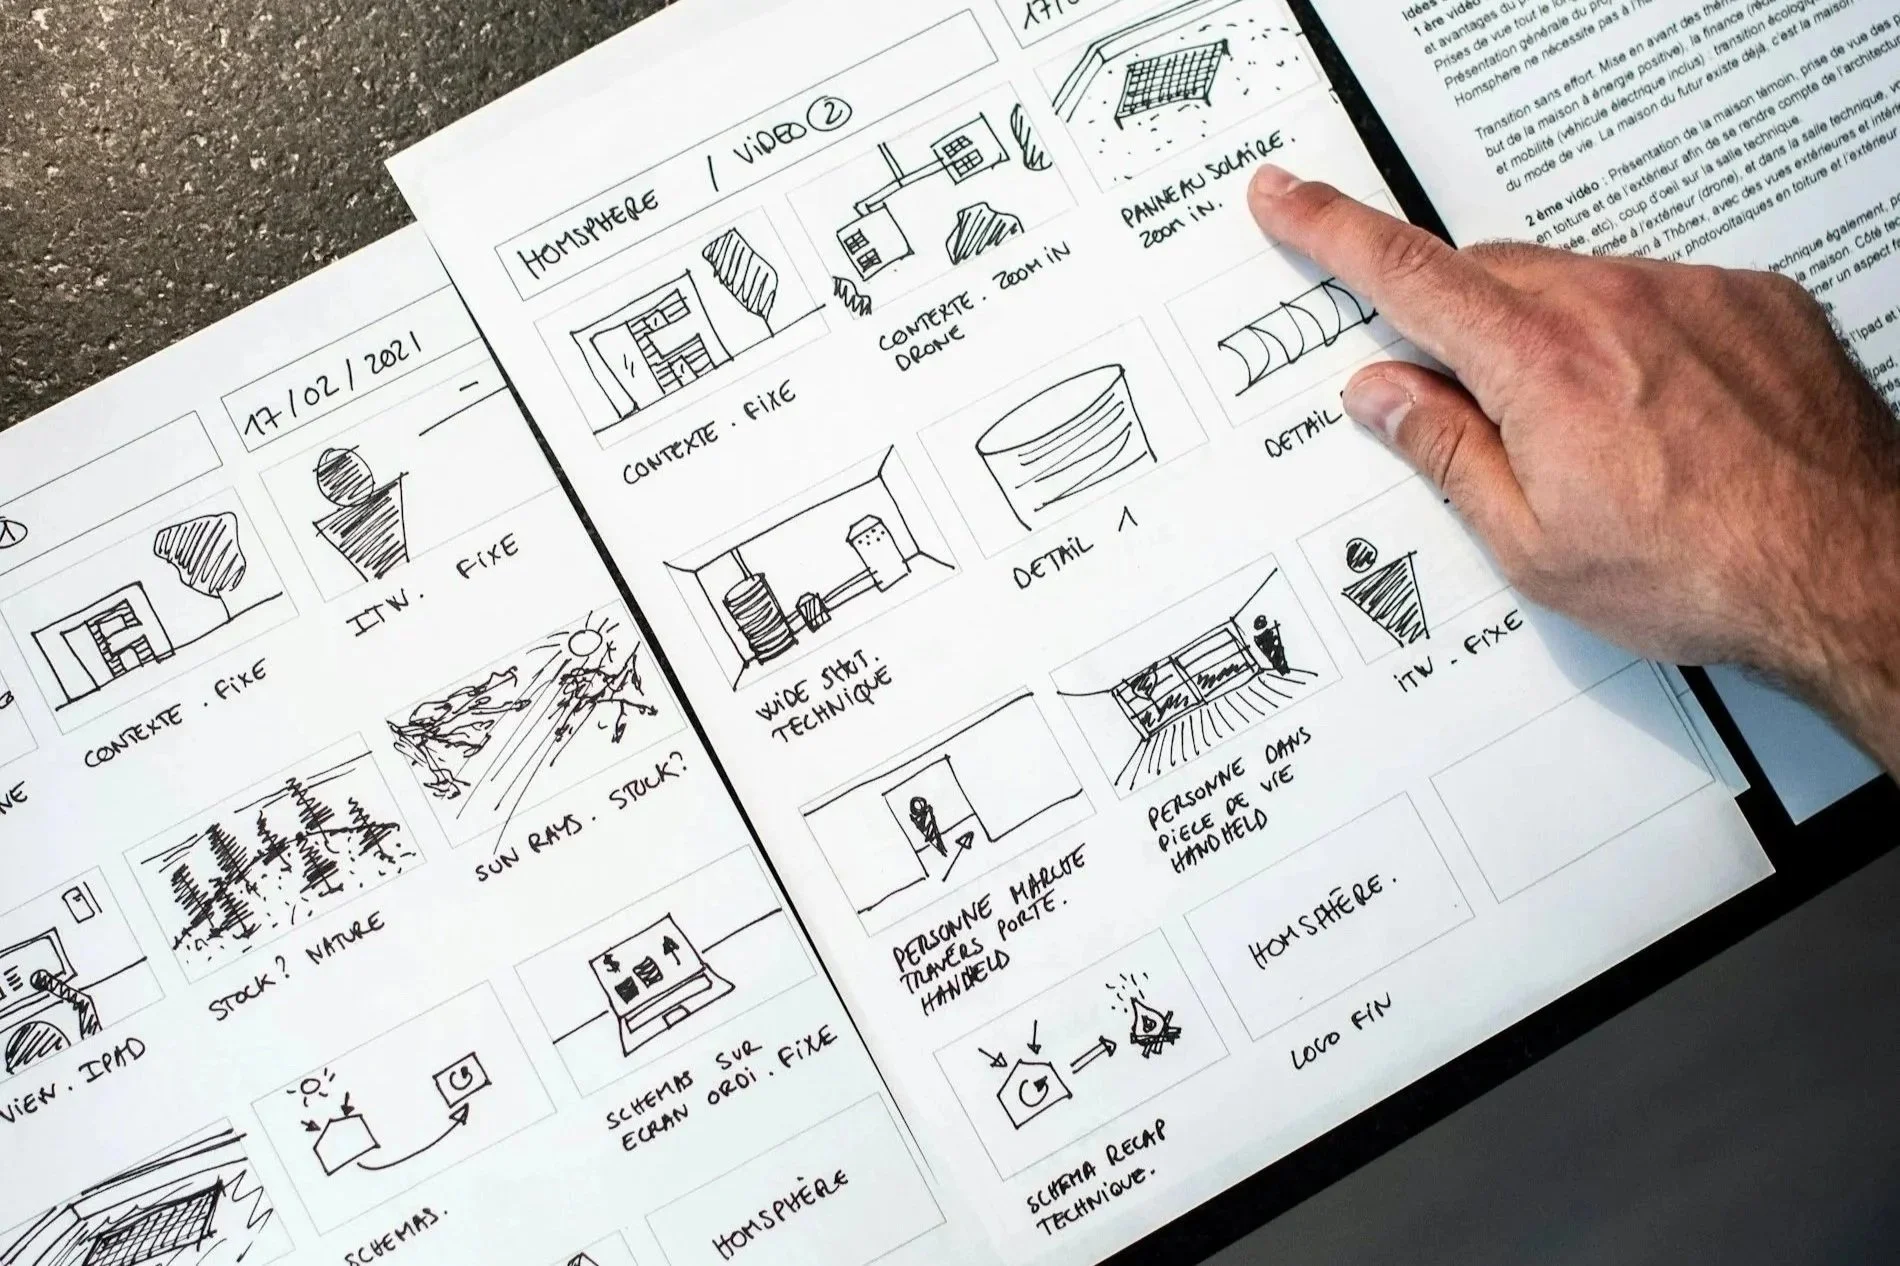
STEP 3. Story Boarding
Sketched still keyframes & animation sequence.
We begin by sketching a storyboard that defines the keyframes and desired camera angles for your animation. Once stages 5 and 6 are complete, these sketches can be replaced with fully rendered still frames giving insight into possible finished style.
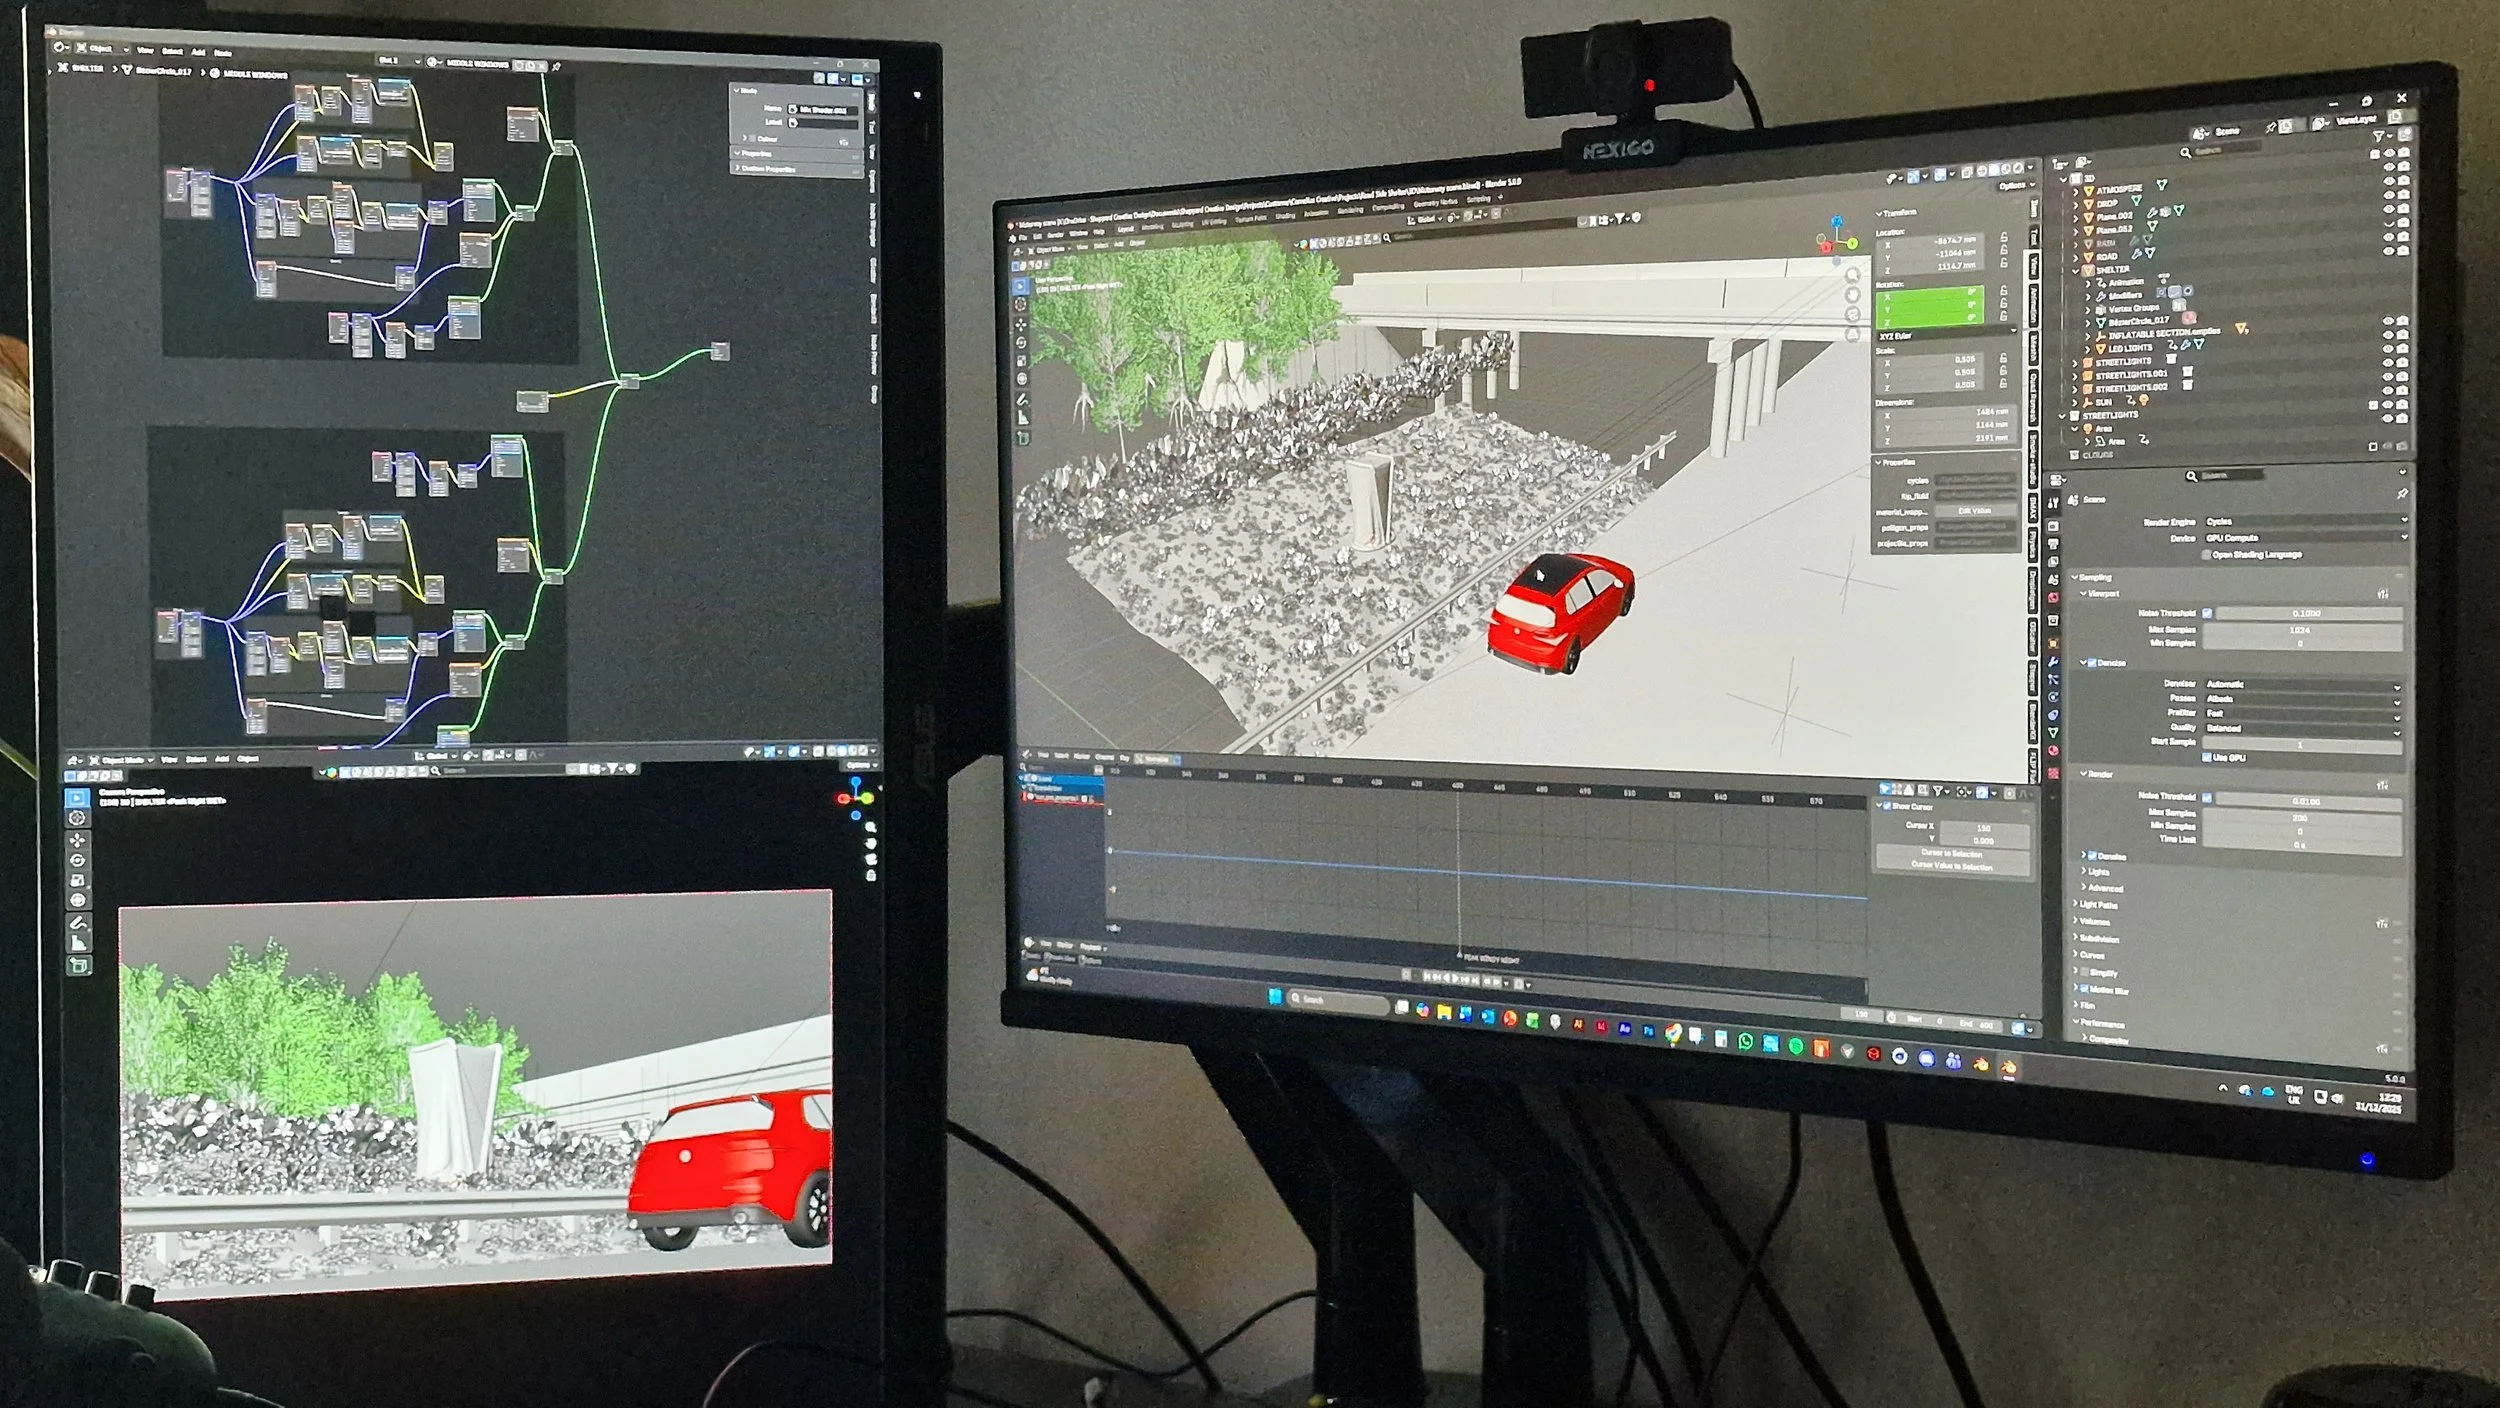
STEP 4. Scene & 3D Building
3D Modelling, asset gathering, material & lighting application.
Once the storyboard is signed off, we start building the world around your product—designing custom assets, shaping authentic environments, and adding rich materials and dynamic lighting to make every detail feel real.
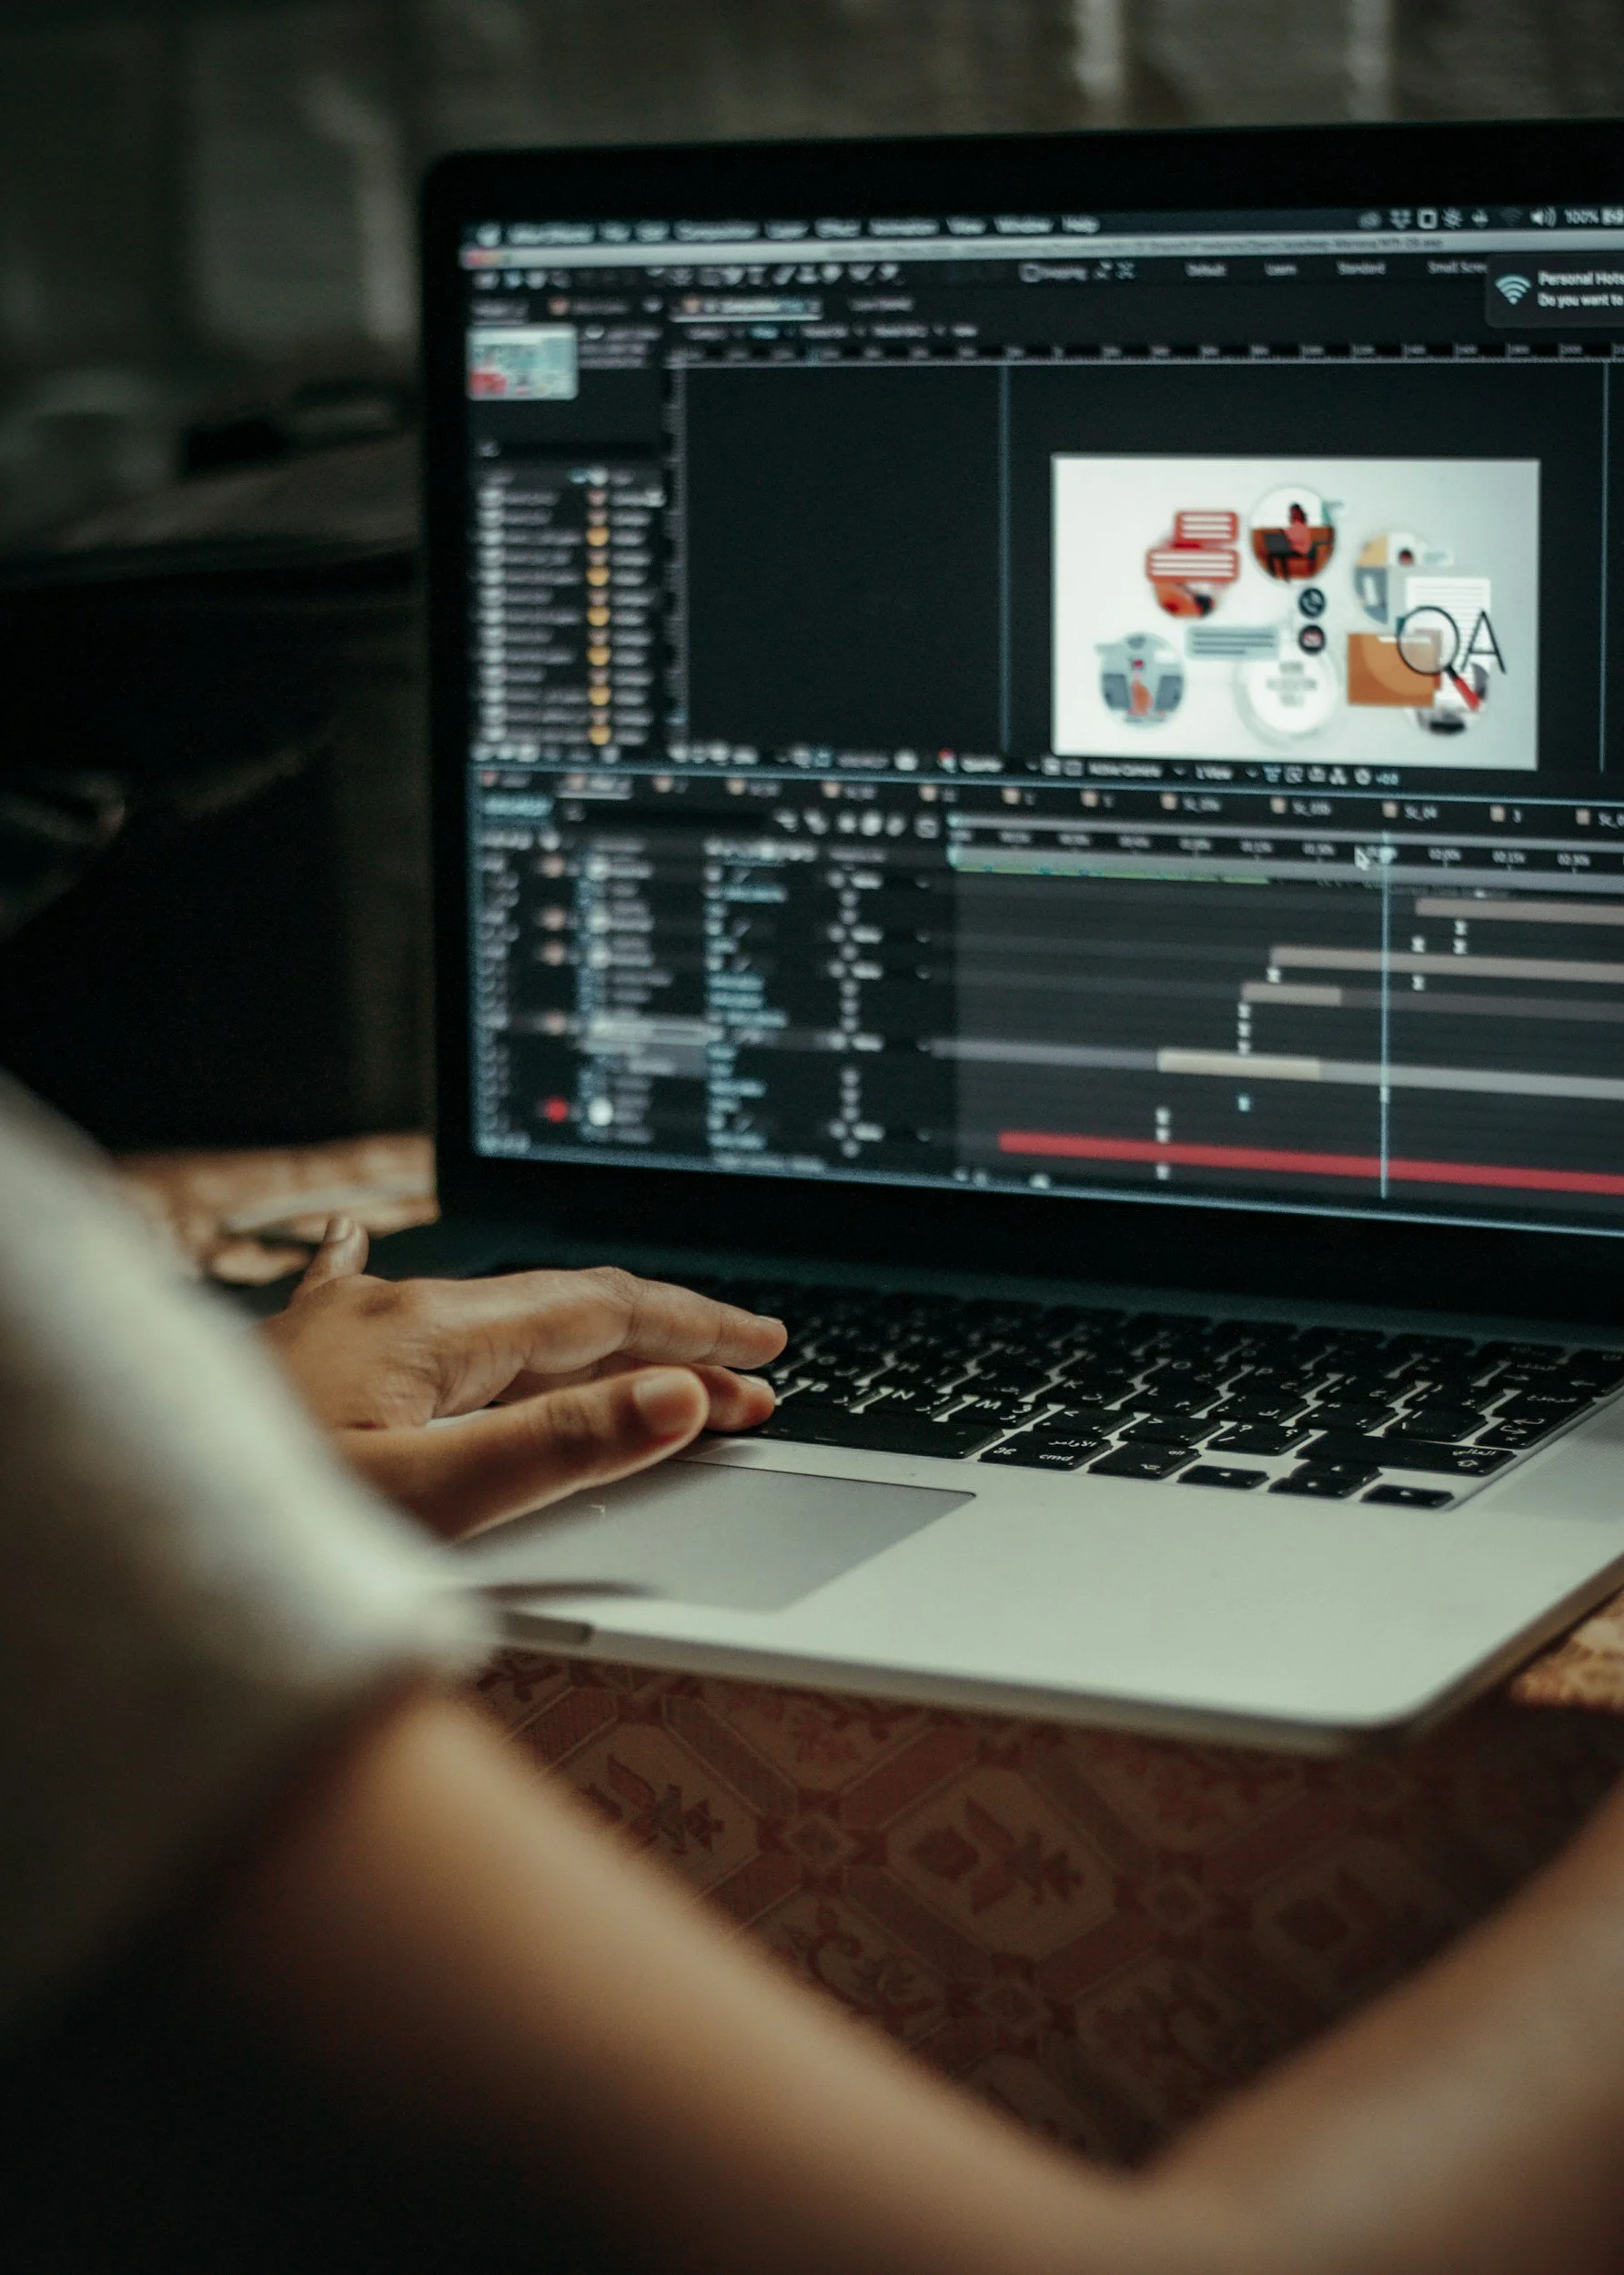
STEP 5. Animating
Adding movement & timing to cameras & models.
Now we begin adding movement, camera work, and transitions to your video. We first animate key elements to ensure they move realistically and at natural speeds. Then we introduce camera shots that align with the storyboard and stay true to the original brief.
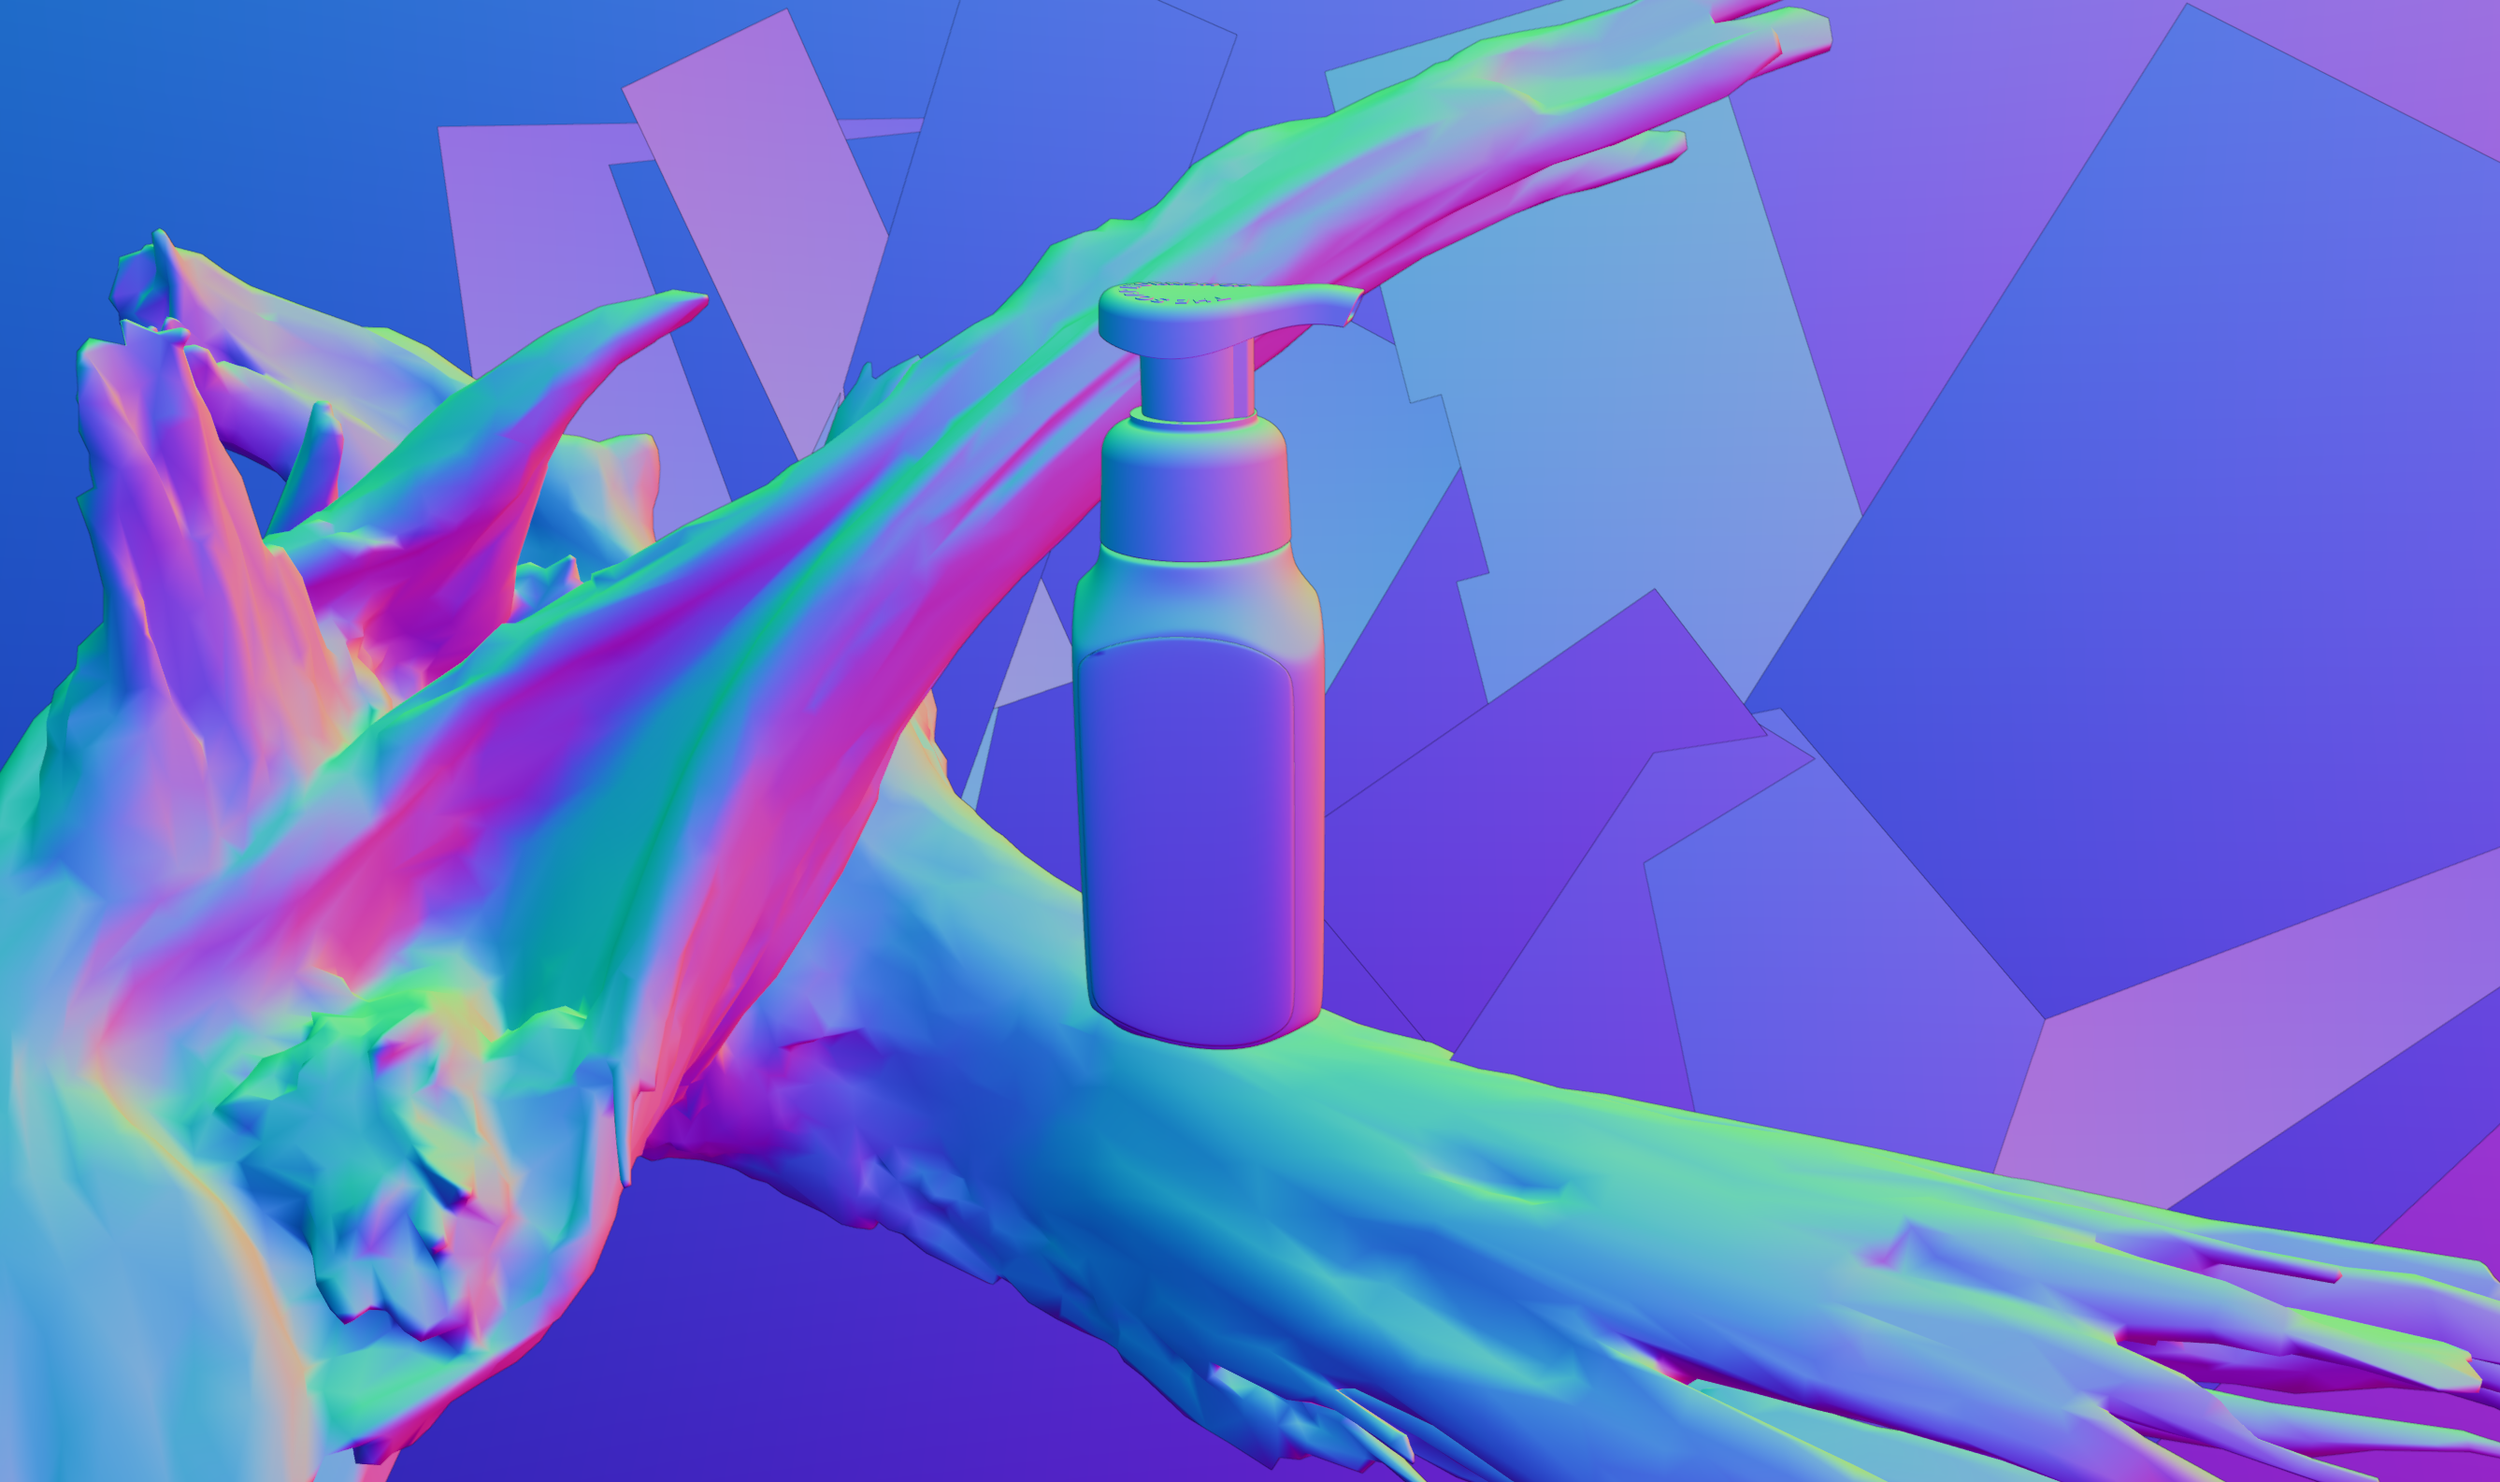
STEP 6. “Clay” Animation Render
Initial “Gray” image output & video editing file.
When a scene becomes complex, it can slow down the real-time preview. To keep reviews efficient, we can provide a “clay” version of the animation (without lighting or materials, using neutral grey shading). This allows you to clearly review camera movement, VFX flow, and timing. These previews are also compiled into an initial edit for review.
STEP 7. Rendering Animation
Outputting rendered animation frames.
This stage is often the longest part of the animation process, depending on the style of video and the effects involved. Each frame is rendered at the required resolution and at a near-final quality level.
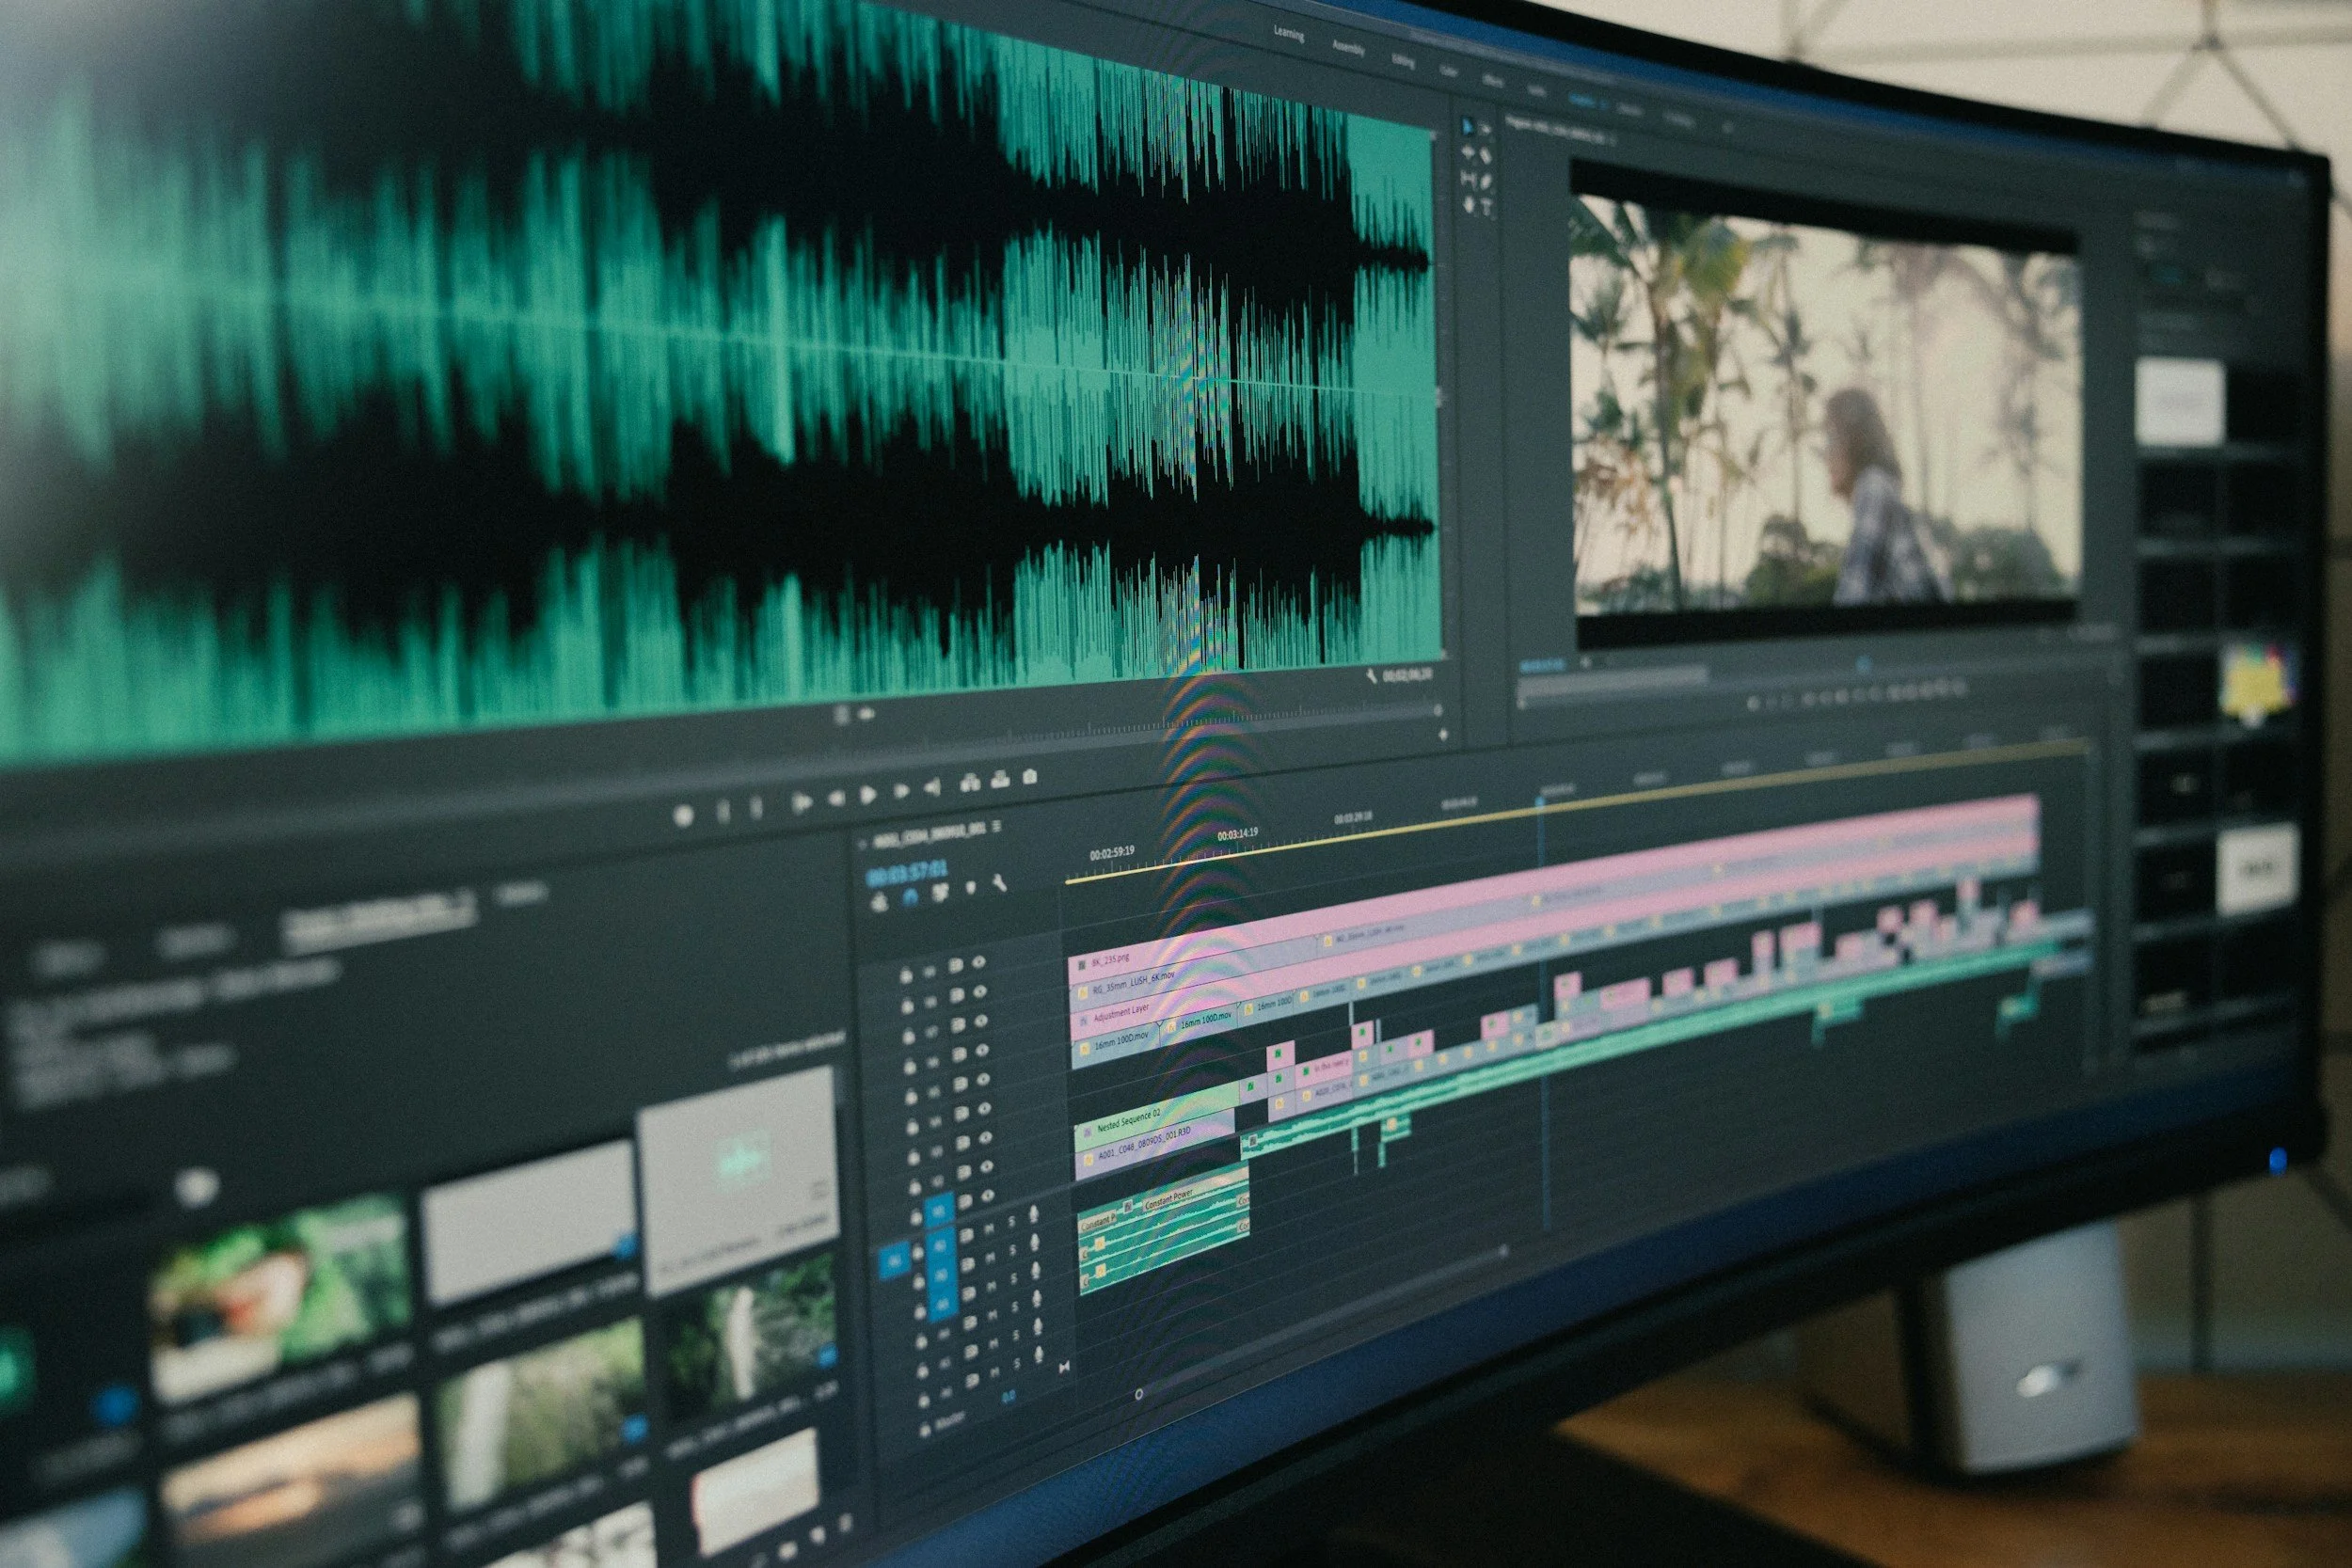
STEP 8. Compiling & Editing
Building final video editing file & Graphical effects.
At this stage, we add 2D effects, call-outs, logos, graphics, and audio. This is also where the final video files are assembled, allowing you to review the completed piece and request any final adjustments.
STEP 9. Export Final Video
Export & Language Formats.
We can export your video in a range of formats to suit your target platforms. We can also localize the video into multiple languages to support your global audience.